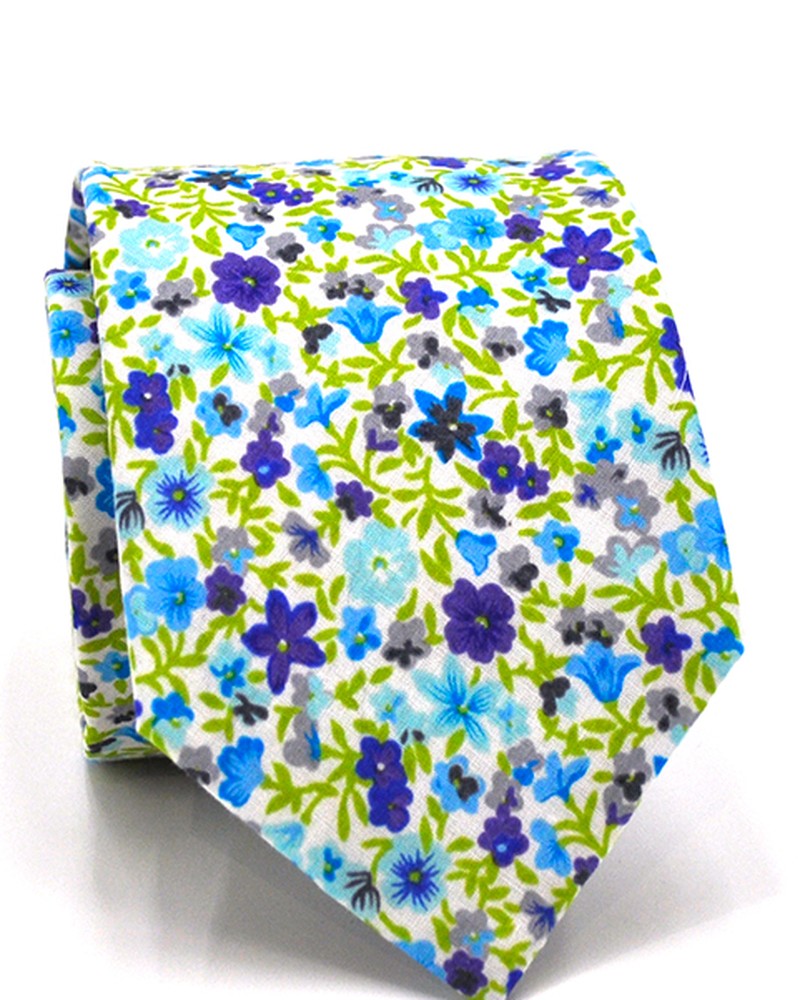

How to tie a tie
When learning how to tie a tie, stand in front of a mirror, raise your collar and fasten the top shirt button. These instructions start with the wide end on your right. If you work in reverse, swap left and right consistently. Let the wide end hang noticeably lower than the narrow end and adjust this starting position after trying the knot.
How to tie a tie: four-in-hand

A compact, slightly asymmetric knot.
- Cross the wide end over the narrow end towards your left.
- Bring the wide end behind the narrow end towards your right.
- Bring the wide end across the front again towards your left. Keep this front band slightly open with a finger.
- Bring the wide end up through the neck loop from underneath.
- Pass the wide end down through the front band.
- Hold the narrow end, gently draw the wide end down and slide the knot towards your collar.
How to tie a tie: half Windsor

A fuller, more symmetrical knot.
- Cross the wide end over the narrow end towards your left.
- Bring the wide end behind the narrow end towards your right.
- Raise the wide end towards the centre, above the crossing.
- Pass it down through the neck loop from above and let it fall on your left.
- Bring the wide end across the front of the knot towards your right. Keep the front band slightly open.
- Bring the wide end up through the neck loop from underneath.
- Pass it down through the front band. Gently tighten and slide the knot towards your collar.
How to tie a tie: full Windsor
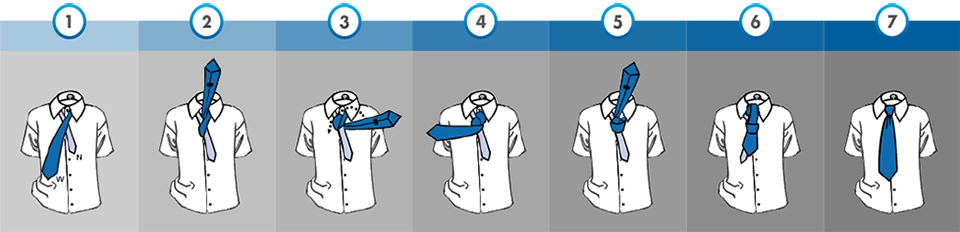
A broad, symmetrical knot that needs more collar space and tie length.
- Cross the wide end over the narrow end towards your left.
- Bring it up through the neck loop from underneath and let it fall on your left.
- Bring the wide end behind the narrow end towards your right.
- Raise the wide end on the right towards the neck loop.
- Pass it down through the neck loop from above and let it fall on your right. You now have a wrap on each side.
- Bring the wide end across the front of the knot towards your left and keep this front band slightly open.
- Bring the wide end up through the neck loop from underneath.
- Pass it down through the front band. Gently tighten and slide the knot towards your collar.
Length and finishing
As a guide, let the wide tip finish around your waistband or belt. Keep the narrow end behind the wide end and use the keeper loop on the back if present. Slide the knot gently to the collar so it sits neatly without feeling uncomfortably tight. If you like, use your fingers to form a small dimple below the knot.
When the proportions need adjusting
If the tie finishes too high, start again with more length on the wide end. If the narrow end hangs below the wide tip, adjust the same starting balance. A thick fabric creates a larger knot; try a four-in-hand for a more compact shape. If you consistently run out of length, check the actual measurements of an XL tie.